Blog
How to use Application.ActivateMicrosoftApp in the xlwings API way
The ActivateMicrosoftApp method in the Excel object model is accessible via the Application object in xlwings. This method serves a specific purpose: it activates a separate Microsoft application window, bringing it to the foreground. This is particularly useful when automating workflows that involve switching between Excel and other Microsoft Office programs like Word or PowerPoint, allowing for seamless integration and control from within an Excel VBA macro or, in this context, an xlwings-powered Python script.
Functionality
The primary function of ActivateMicrosoftApp is to launch or switch to another Microsoft application. It does not create new documents within that application but activates the application window itself. If the requested application is not already running, the method will typically start it. This enables automated processes to prepare data in Excel and then directly present it in another Office program without manual intervention.
Syntax in xlwings
The xlwings API provides a direct mapping to this method through the Application object. The syntax is:
app.api.ActivateMicrosoftApp(Index)Here, app refers to the xlwings App instance (which corresponds to the Excel Application object). The .api property exposes the underlying pywin32 object, allowing access to the native VBA method.
Parameters
The method requires a single argument, Index, which is a Long integer specifying the application to activate. The standard values are:
| Index Value | Microsoft Application |
|---|---|
| 1 | Microsoft Word |
| 2 | Microsoft PowerPoint |
| 3 | Microsoft Mail (Outlook) |
| 4 | Microsoft Access |
| 5 | Microsoft Schedule+ |
| 6 | Microsoft Project |
Note: The availability and behavior might depend on the specific Office version installed. Indexes like 5 (Schedule+) are largely obsolete.
Code Examples
Below are practical xlwings code snippets demonstrating the use of ActivateMicrosoftApp.
- Activating Microsoft Word:
This script opens Excel, writes a value to a cell, and then switches to Microsoft Word.
import xlwings as xw

# Connect to the active Excel instance or start a new one
app = xw.App(visible=True)
wb = app.books.active
wb.sheets[0].range('A1').value = "Data for Word"

# Activate Microsoft Word (Index = 1)
app.api.ActivateMicrosoftApp(1)- Switching to PowerPoint from an Existing Workbook:
This example assumes Excel is already open and controlled by xlwings. It activates PowerPoint.
import xlwings as xw

# Connect to the currently running Excel
app = xw.apps.active
# Bring PowerPoint to the foreground
app.api.ActivateMicrosoftApp(2)- Checking Application Activation with Error Handling:
A more robust example includes basic error handling, acknowledging that the target application might fail to start.
import xlwings as xw
import time

app = xw.App(visible=True)
try:
    # Attempt to activate Microsoft Access
    app.api.ActivateMicrosoftApp(4)
    print("Microsoft Access activation attempted.")
    # A brief pause can be helpful for the window switch to complete
    time.sleep(1)
except Exception as e:
    print(f"An error occurred: {e}")
finally:
    # Perform cleanup or other tasks
passHow to use Application.FileValidation in the xlwings API way
The FileValidation property of the Application object in Excel is a feature designed to manage file validation settings for the application. This property allows developers to control how Excel handles files that originate from potentially unsafe locations, such as those downloaded from the internet or received via email, which may contain macros or other executable content. By using the FileValidation property, you can programmatically adjust Excel’s behavior to either enable or disable validation checks on these files, enhancing security by preventing the automatic execution of potentially harmful code. In xlwings, which provides a Pythonic interface to Excel’s COM automation, accessing this property enables automation of security settings directly from Python scripts, integrating Excel file handling into broader data processing workflows.
Syntax in xlwings:
In xlwings, the Application object is typically accessed through the app object when connecting to an Excel instance. The FileValidation property can be retrieved or set using the following format:
app.api.FileValidationThis property returns or accepts an integer value corresponding to the file validation mode. The values are defined in the Excel object model as follows:
- 0:
msoFileValidationDefault– Uses the default file validation behavior. - 1:
msoFileValidationSkip– Skips file validation for the current session. - 2:
msoFileValidationOn– Turns on file validation for the current session.
Note that in xlwings, the api attribute provides direct access to the underlying Excel COM object, allowing you to use properties and methods as documented in the Excel VBA object model. The FileValidation property is read-write, meaning you can both get its current value and set it to change Excel’s behavior.
Code Examples:
Here are practical examples demonstrating how to use the FileValidation property with xlwings:
- Retrieving the Current File Validation Setting:
This example connects to an active Excel instance and prints the current file validation mode.
import xlwings as xw

# Connect to the active Excel application
app = xw.apps.active

# Get the current FileValidation value
validation_mode = app.api.FileValidation
print(f"Current FileValidation mode: {validation_mode}")- Setting the File Validation to Skip Validation:
This example sets the file validation to skip mode, which might be useful when processing trusted files in a controlled environment, and then restores it to the default.
import xlwings as xw

app = xw.apps.active

# Save the current mode for later restoration
original_mode = app.api.FileValidation

# Set to skip validation
app.api.FileValidation = 1 # msoFileValidationSkip
print("File validation set to skip mode.")

# Perform tasks with files (e.g., open a workbook)
# ...

# Restore the original mode
app.api.FileValidation = original_mode
print("File validation restored to original mode.")- Enabling File Validation for Enhanced Security:
This example ensures that file validation is turned on, which is recommended for general use to maintain security.
import xlwings as xw

app = xw.apps.active

# Enable file validation
app.api.FileValidation = 2 # msoFileValidationOn
print("File validation is now enabled.")How To Create 2D Picture Filled Bar Chart Using xlChart+ Add-in?
Flowing these steps to create 2d picture filled column chart:

First, select data in the worksheet.
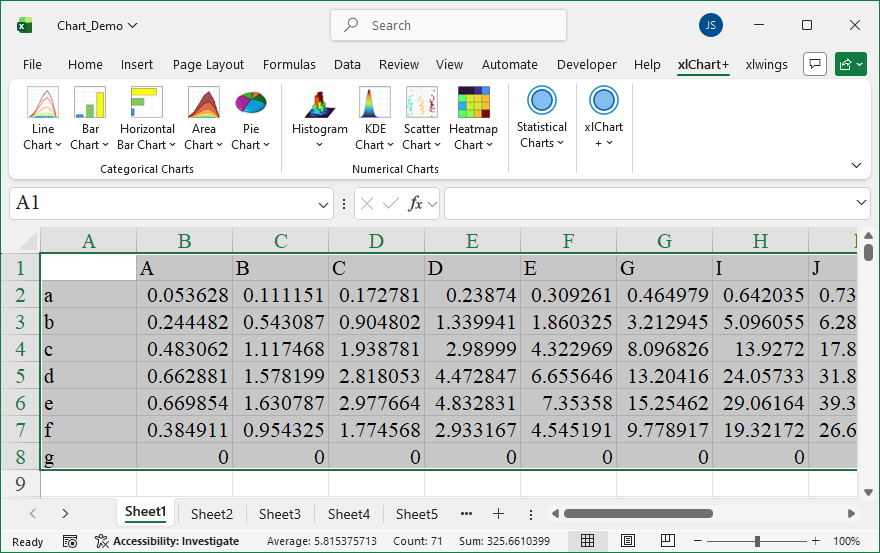
Click “2D Clustered” item in “Horizontal Bar Chart” menu in xlChart+ add-in, open “Create a Horizontal Bar Chart” dialog box, select “Pictured Fill” option button in “Fill” frame.
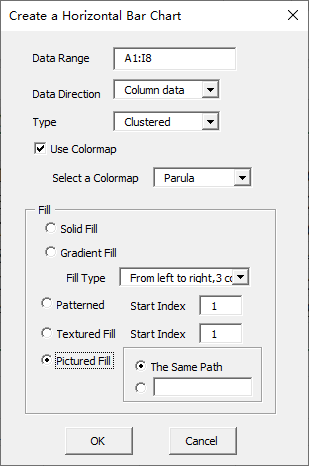
Click “OK” button.
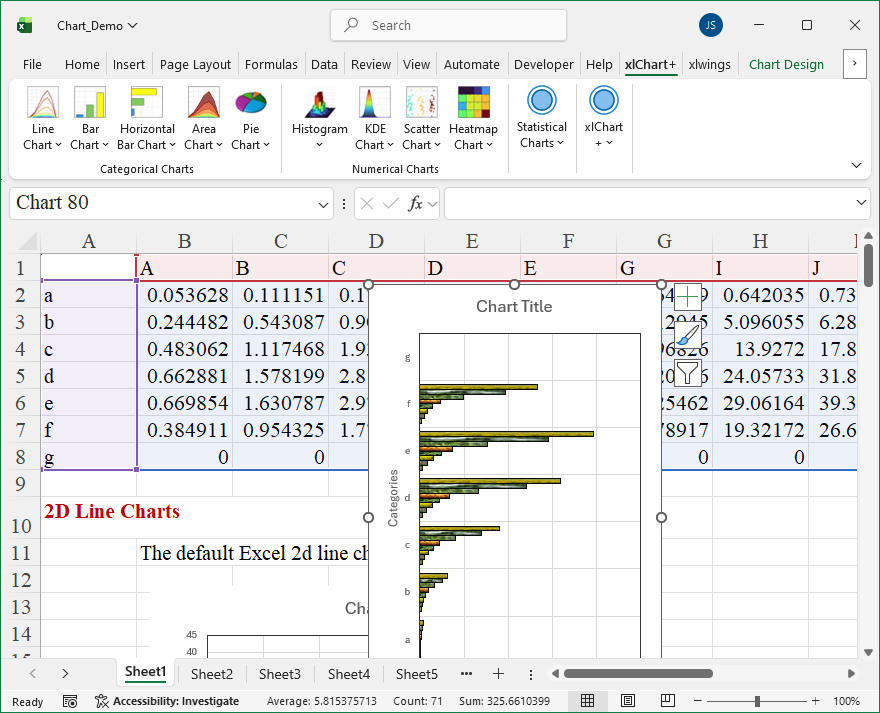
How To Create 2D Pattern Filled Bar Chart Using xlChart+ Add-in?
Flowing these steps to create 2d pattern filled bar chart:
First, select data in the worksheet.
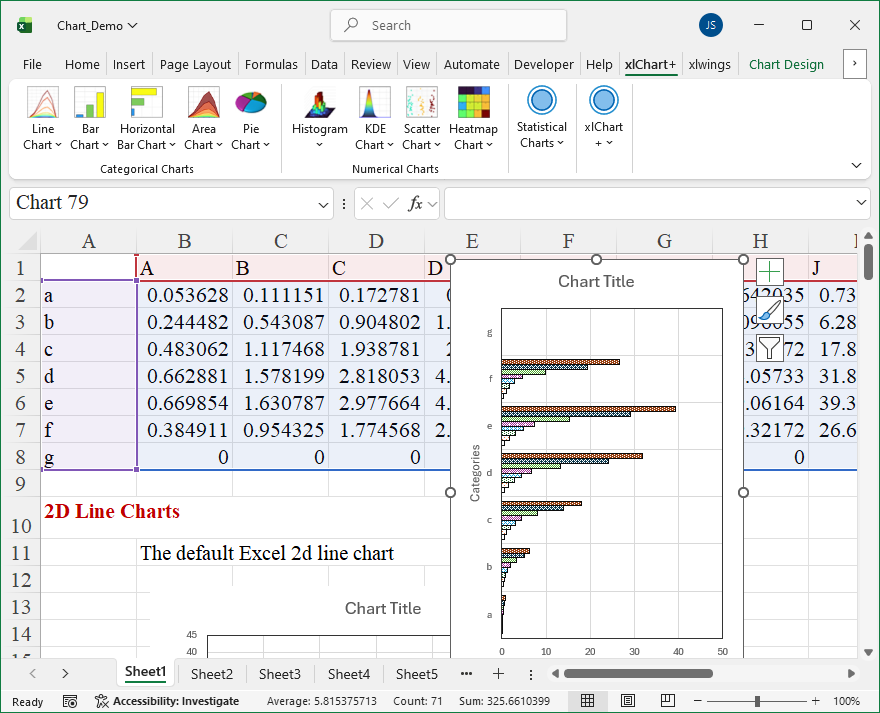
Click “2D Clustered” item in “Horizontal Bar Chart” menu in xlChart+ add-in, open “Create a Horizontal Bar Chart” dialog box, select “Patternred Fill” option button in “Fill” frame.
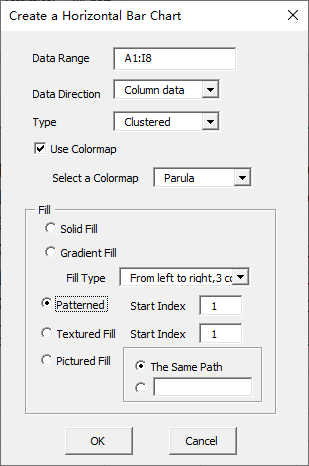
Click “OK” button.
How To Create 2D Gradient Filled Bar Chart Using xlChart+ Add-in?
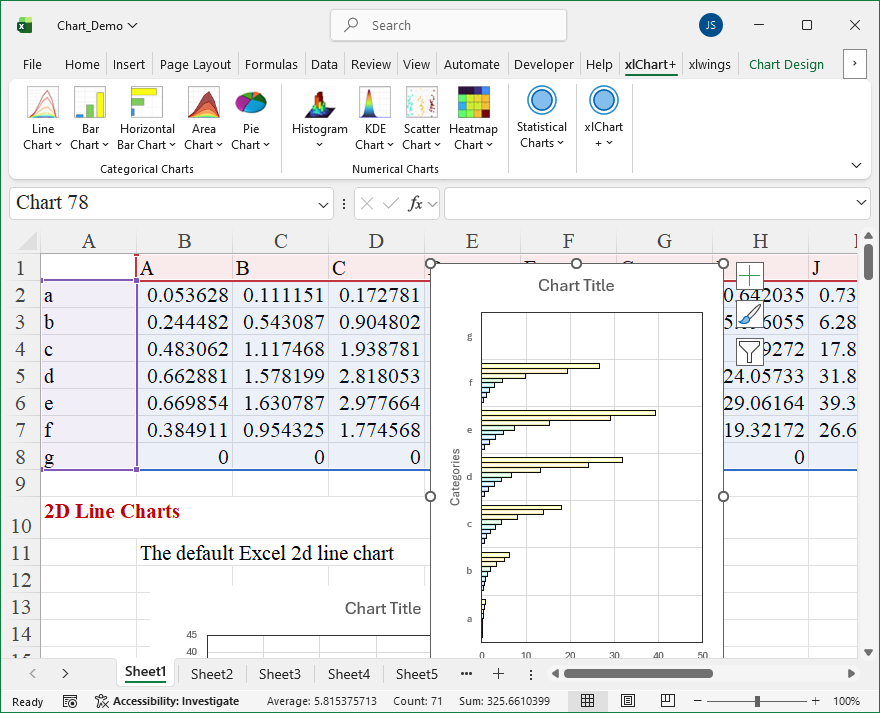
Flowing these steps to create 2d picture filled bar chart:
First, select data in the worksheet.
Click “2D Clustered” item in “Horizontal Bar Chart” menu in xlChart+ add-in, open “Create a Horizontal Bar Chart” dialog box, select “Pictured Fill” option button in “Fill” frame.
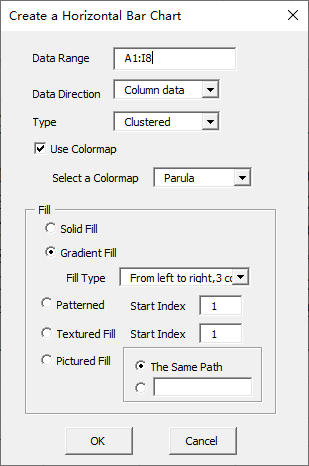
Click “OK” button.
How To Create 2D 100% Percent Stacked Bar Chart Using xlChart+ Add-in?
Flowing these steps to create 2d 100% percent stacked bar chart:
First, select data in the worksheet.
Click “2D 100% Clustered” item in “Horizontal Bar Chart” menu in xlChart+ add-in, open “Create a Horizontal Bar Chart” dialog box.
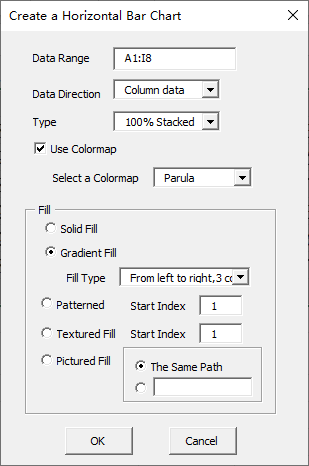
Click “OK” button.
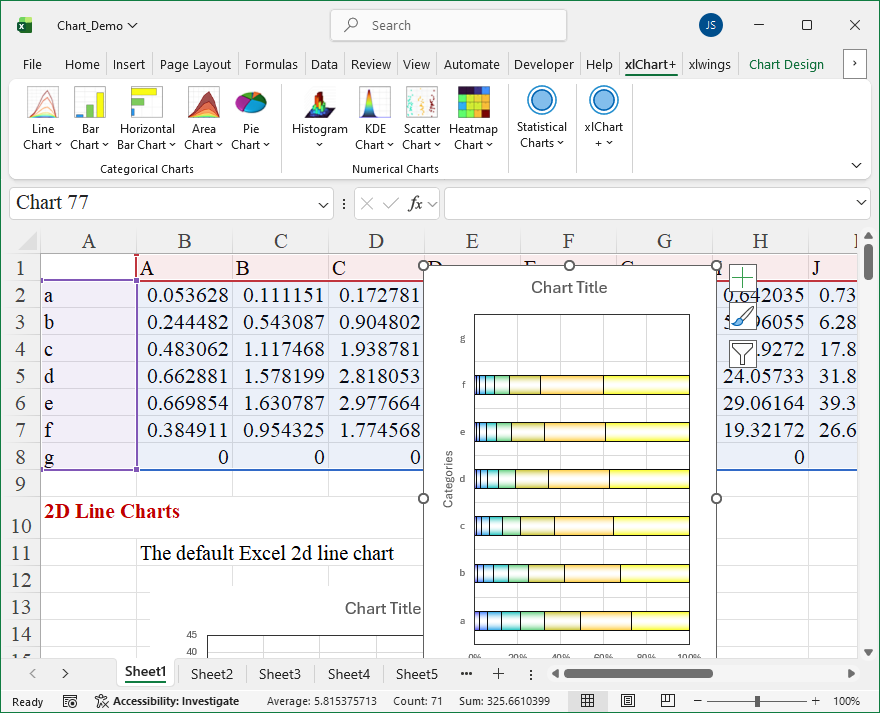
You can change the colormap by selecting another item in “Select a colormap” dropbox in “Create a Horizontal Bar Chart” dialog box.
How To Create 2D Stacked Bar Chart Using xlChart+ Add-in?
Flowing these steps to create 2d stacked bar chart:
First, select data in the worksheet.
Click “2D Stacked” item in “Horizontal Bar Chart” menu in xlChart+ add-in, open “Create a Horizontal Bar Chart” dialog box.
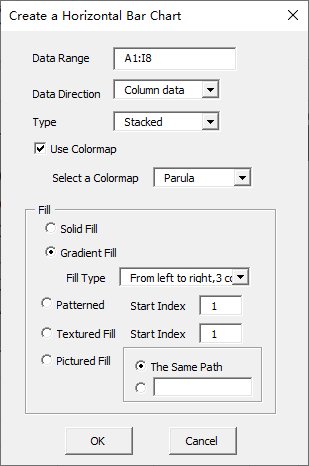
Click “OK” button.
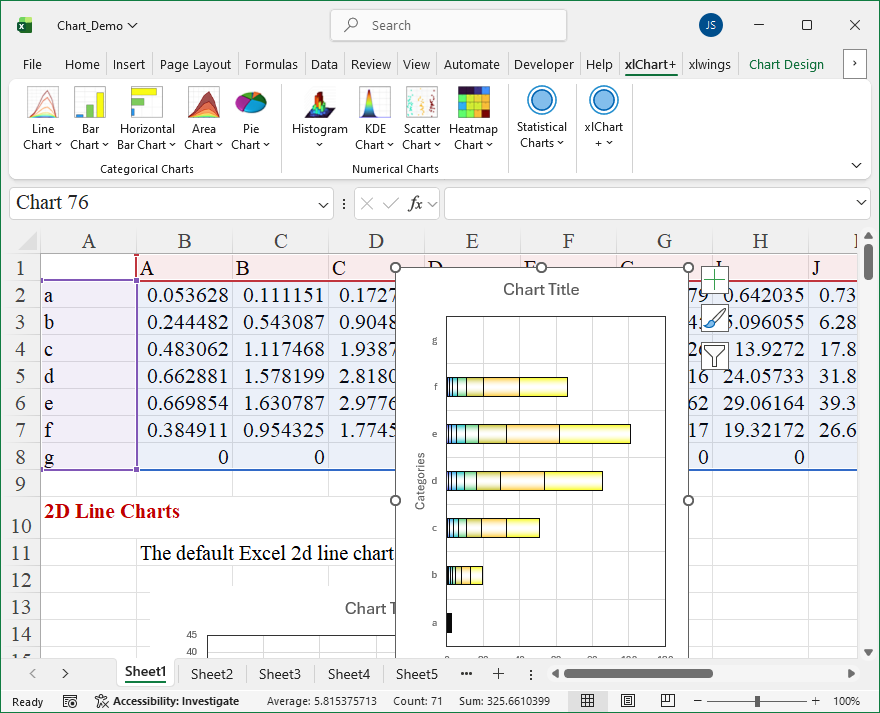
You can change the colormap by selecting another item in “Select a colormap” dropbox in “Create a Horizontal Bar Chart” dialog box.
How To Create 2D Complex Bar Chart Using xlChart+ Add-in?
Flowing these steps to create 2d complex bar chart:
First, select data in the worksheet.
Click “2D Clustered” item in “Horizontal Bar Chart” menu in xlChart+ add-in, open “Create a Horizontal Bar Chart” dialog box.
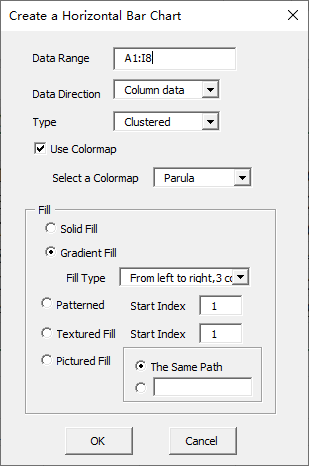
Click “OK” button.
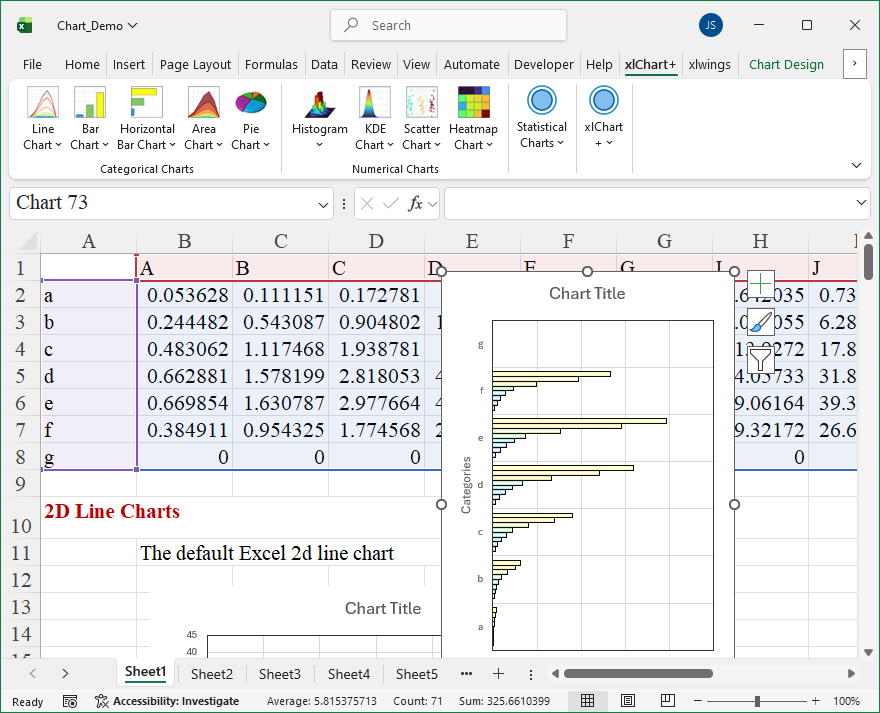
You can change the colormap by selecting another item in “Select a colormap” dropbox in “Create a Horizontal Bar Chart” dialog box.
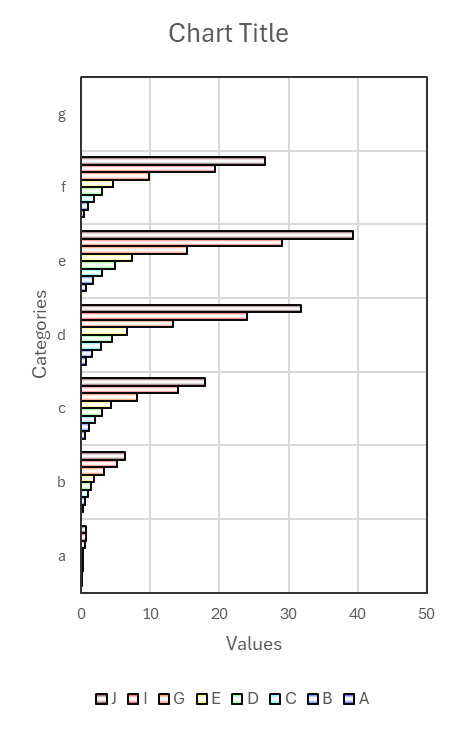
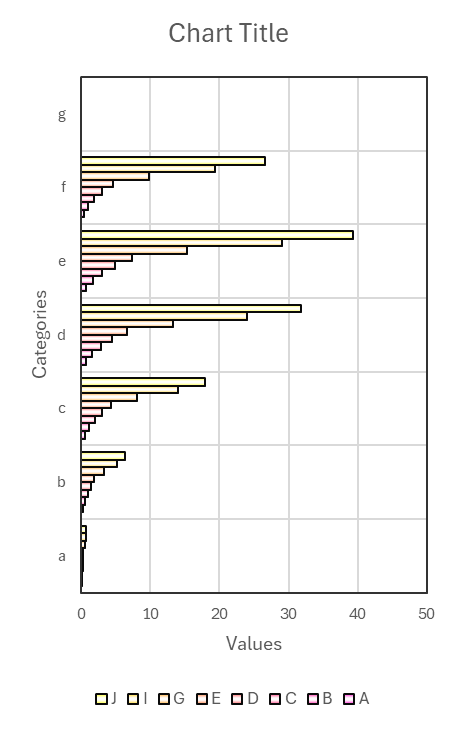
How To Create 2D Bar Chart Using xlChart+ Add-in?
Flowing these steps to create 2d bar chart:
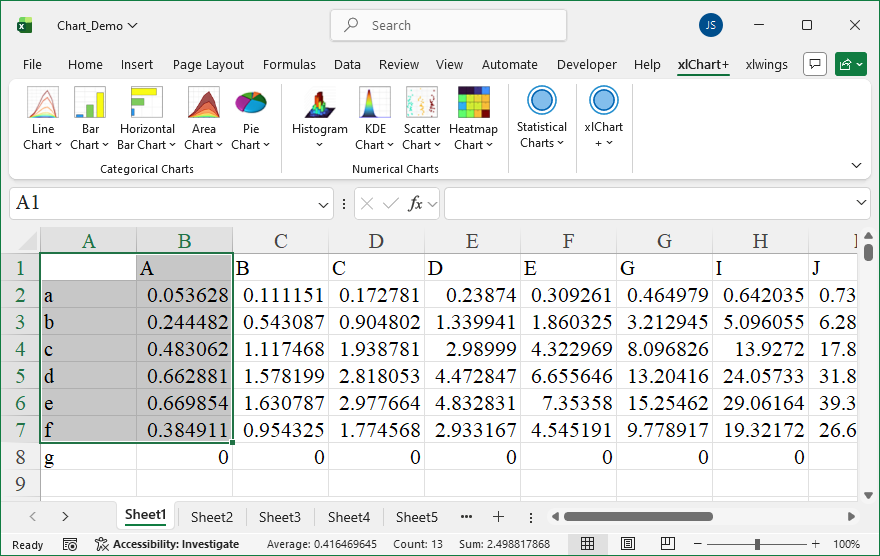
First, select data in the worksheet.
Click “2D Clustered” item in “Horizontal Bar Chart” menu in xlChart+ add-in, open “Create a Horizontal Bar Chart” dialog box.
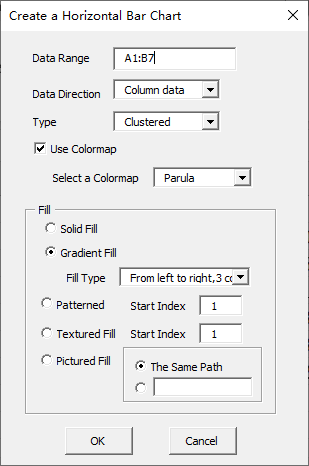
Click “OK” button.
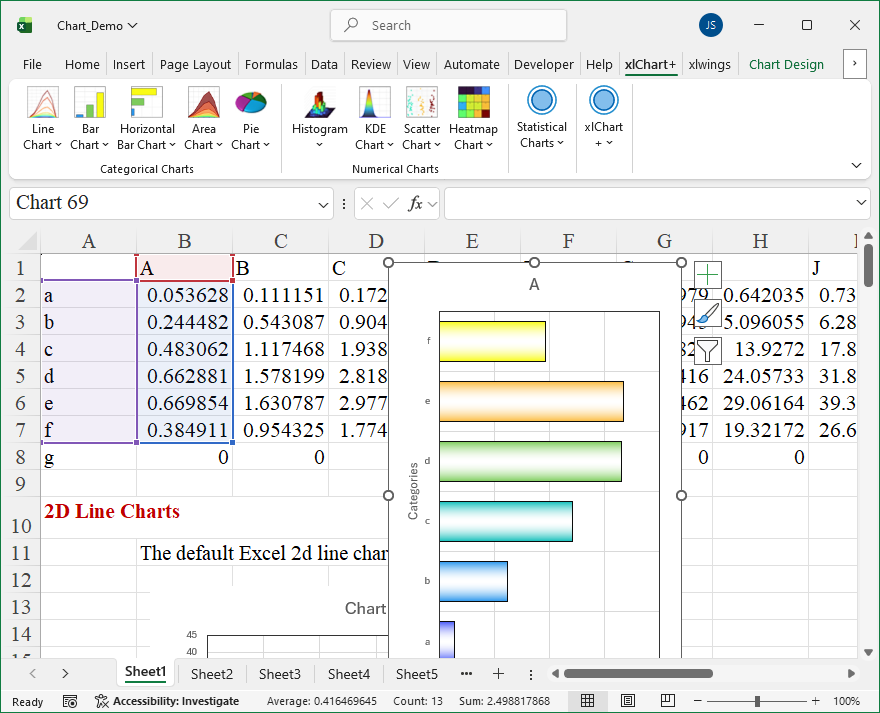
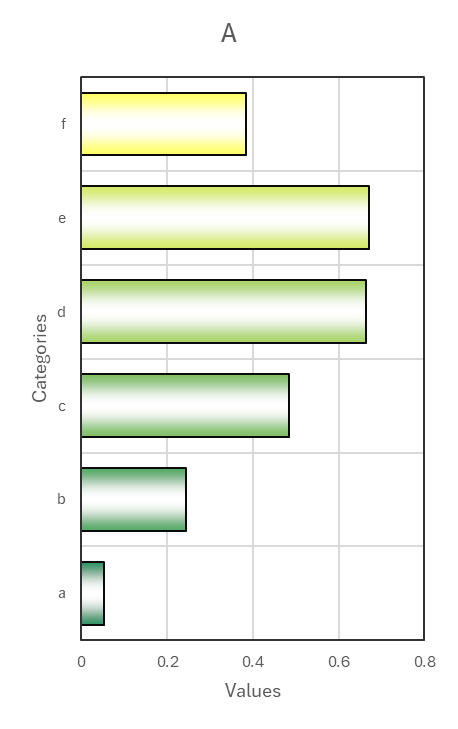
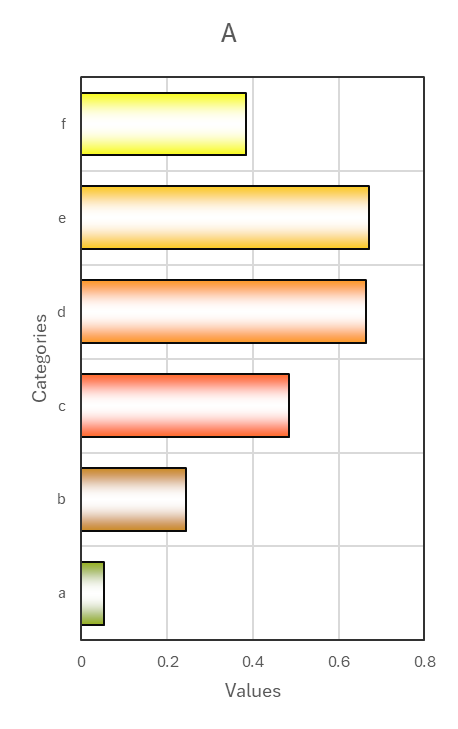
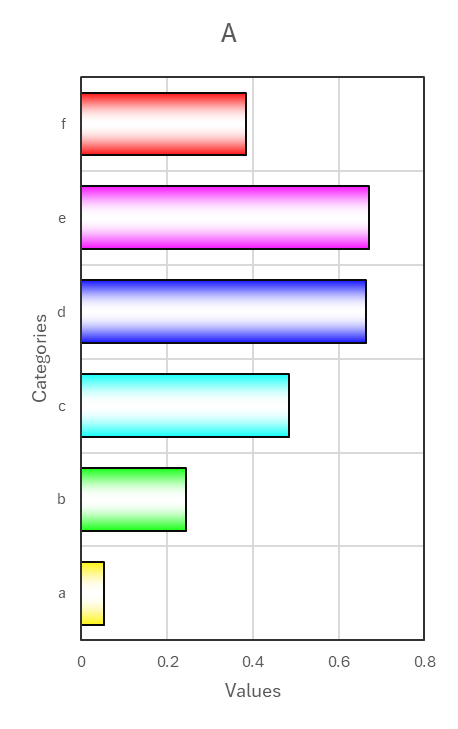
You can change the colormap by selecting another item in “Select a colormap” dropbox in “Create a Horizontal Bar Chart” dialog box.
How To Create 3D Column Chart Using xlChart+ Add-in?
Flowing these steps to create 3d column chart:
First, select data in the worksheet.
Click “3D Rectangular” item in “Bar Chart” menu in xlChart+ add-in, open “Create a 3D Bar Chart” dialog box.
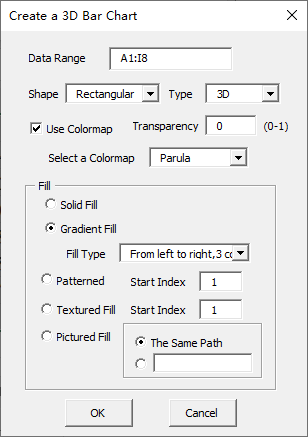
Click “OK” button.
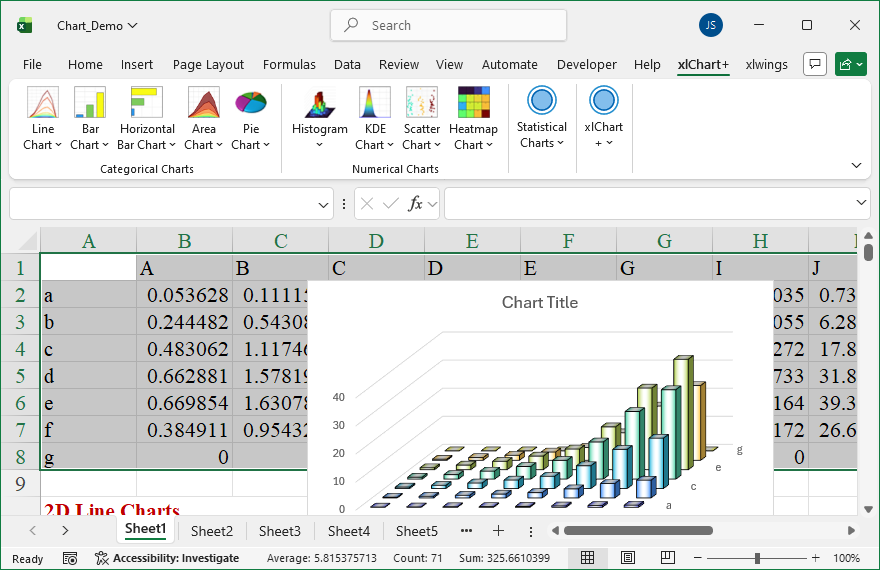
You can change the shape, transpancy and colormap in “Create a Bar Chart” dialog box.